Pressing seams is an integral part of the assembly process of a quilt block. Every time a seam is sewn, it must be pressed before the next piece is added. Seems simple, right? Not always. In a complex quilt block with small pieces, the seams can start to get bulky. Following a few guidelines can help everything lay down smoother.
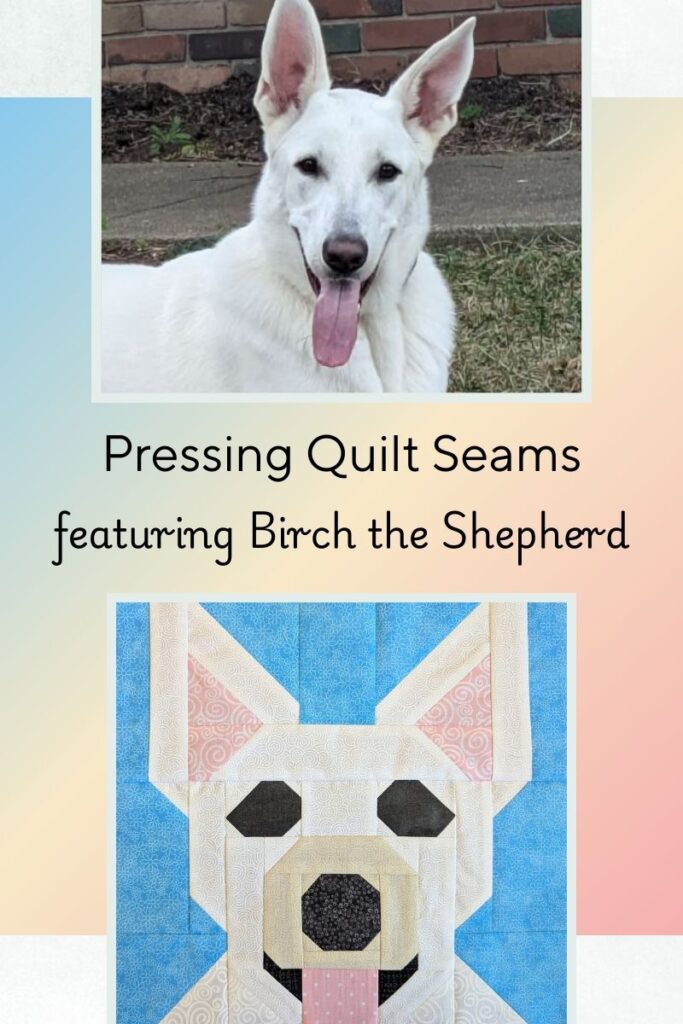
This is Birch. He is a two-year-old white German Shepherd. Birch enjoys sitting outside, chewing on sticks, and going for long rides in the truck.
He is our third pet and the inspiration for this article.
When pressing a seam, these are the questions I ask myself:
Is the seam on the diagonal (bias) or going with the grain?
Of the two fabrics making up the seam, is there one that should visually be in front of the other?
Are there other seams intersecting one or more of the sides of the seam?
Diagonal Vs. Perpendicular Seams
Most of my designs utilize horizontal and vertical seams that are perpendicular to each other, meaning that these seams should go along with the grain of the fabric. For these seams I press to one side.
When I have a diagonal seam, it is usually at a 45-degree angle making it on the bias of the fabric. I have found that these seams lay better when pressed open, especially once I start adding more patches and the seams start to intersect.
Using Seams to Show Depth
When creating a representational quilt block there is usually a foreground and a background. There might be several layers of depth. When pressing the seams to the side, one side becomes slightly raised due to it having three layers of fabric as opposed to just one. When I can, I press seams to the side that would make most sense to be visually in the front of the other.
In the following image, the blue fabric is the background and the white is the dog, the subject of the quilt block. Therefore, I pressed the seam towards the white fabric to make it pop out slightly.
Seams within Seams
As you get closer to finishing your quilt block, you are going to have seams that are made of other seams. It is usually easier to press to the side that has less seams, allowing the side with more seams to lay open. This is especially true, when one side is a solid piece of fabric and the other side is made of previous seams.
For both the nose and tongue unit, I pressed the seams to the sides with little or no extra seams. This was to my advantage with the tongue because I wanted the tongue to stand out. I would have preferred to press the seams so the nose would stand out as well, but the diagonal seams were too close together to press neatly.
However, as I added more pieces on around the snout, I was able to press the seams in towards the snout to let it pop out. Even though there are some previous seams in that layer, they are farther apart and able to be pressed down without bunching.
In the end, this is what my quilt block looked like on the back. You can see the diagonals are pressed open, and the vertical and horizontal seams are press to one side. Decisions had to be made each step of the way, but with my three guidelines, it made those decisions much easier.
The front of the quilt block is neat and clean and captures the essence of our dog, Birch.