Hanging quilts on the wall is a great way to display them, especially when you don’t want to make a full-sized quilt. Quilted wall art can be any size and unlike many other types of wall art there is no need to purchase an expensive frame.
In this post I will show you a simple way to hang your quilts with a dowel rod.
Before sewing the binding to your quilt, create a pocket in the top two corners to hang the dowel from. To make these pockets, cut two squares from your background fabric and fold in half on the diagonal. To determine what size to cut these squares, measure the width of the quilt and divide by four. Make the squares just slightly larger than one fourth of the width of the quilt.
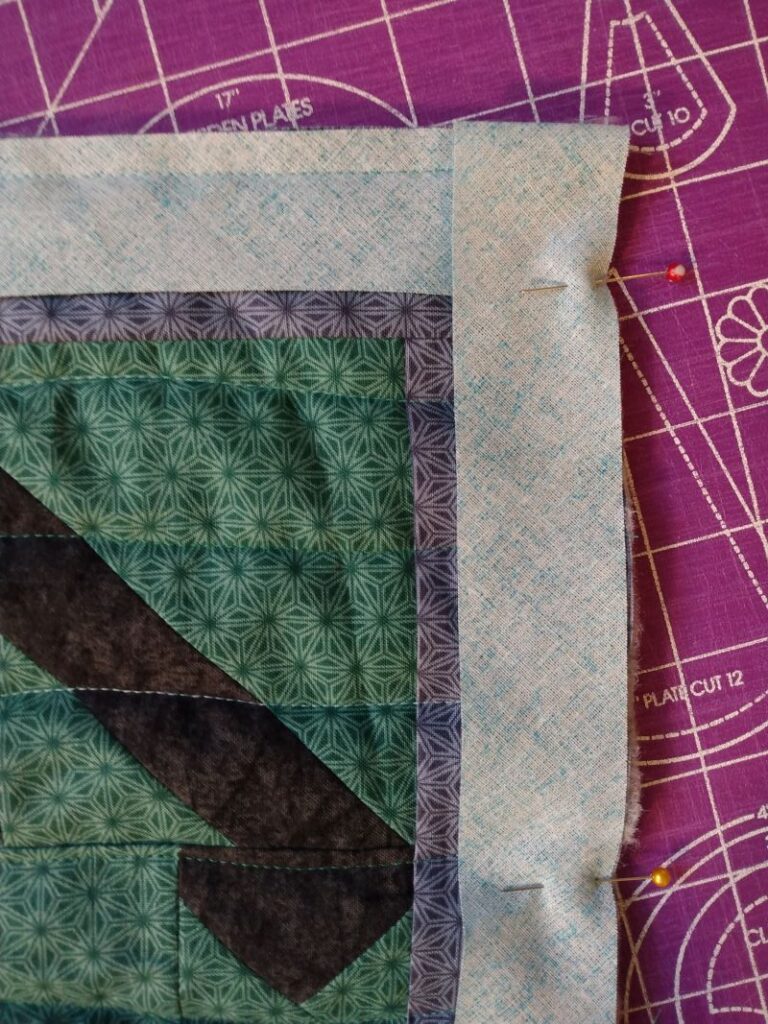
Pin the triangles on to the back of the quilt in the top two corners and stitch in place near the edge so the stitches will be hidden within the binding.
Then bind the quilt as normal. For quilted wall art, I like to use a mitered binding when I can.
Once the binding is finished, all you need to do is cut the dowel to the width of the quilt, put a nail in the wall, and display your work.
For quilts wider than two feet, you may wish to attach a small sleeve or tube of fabric at the middle top for the dowel to slide through, so the quilt doesn’t sag in the middle.
This wall hanging was made using my Chess Set quilt pattern.

")
")

")